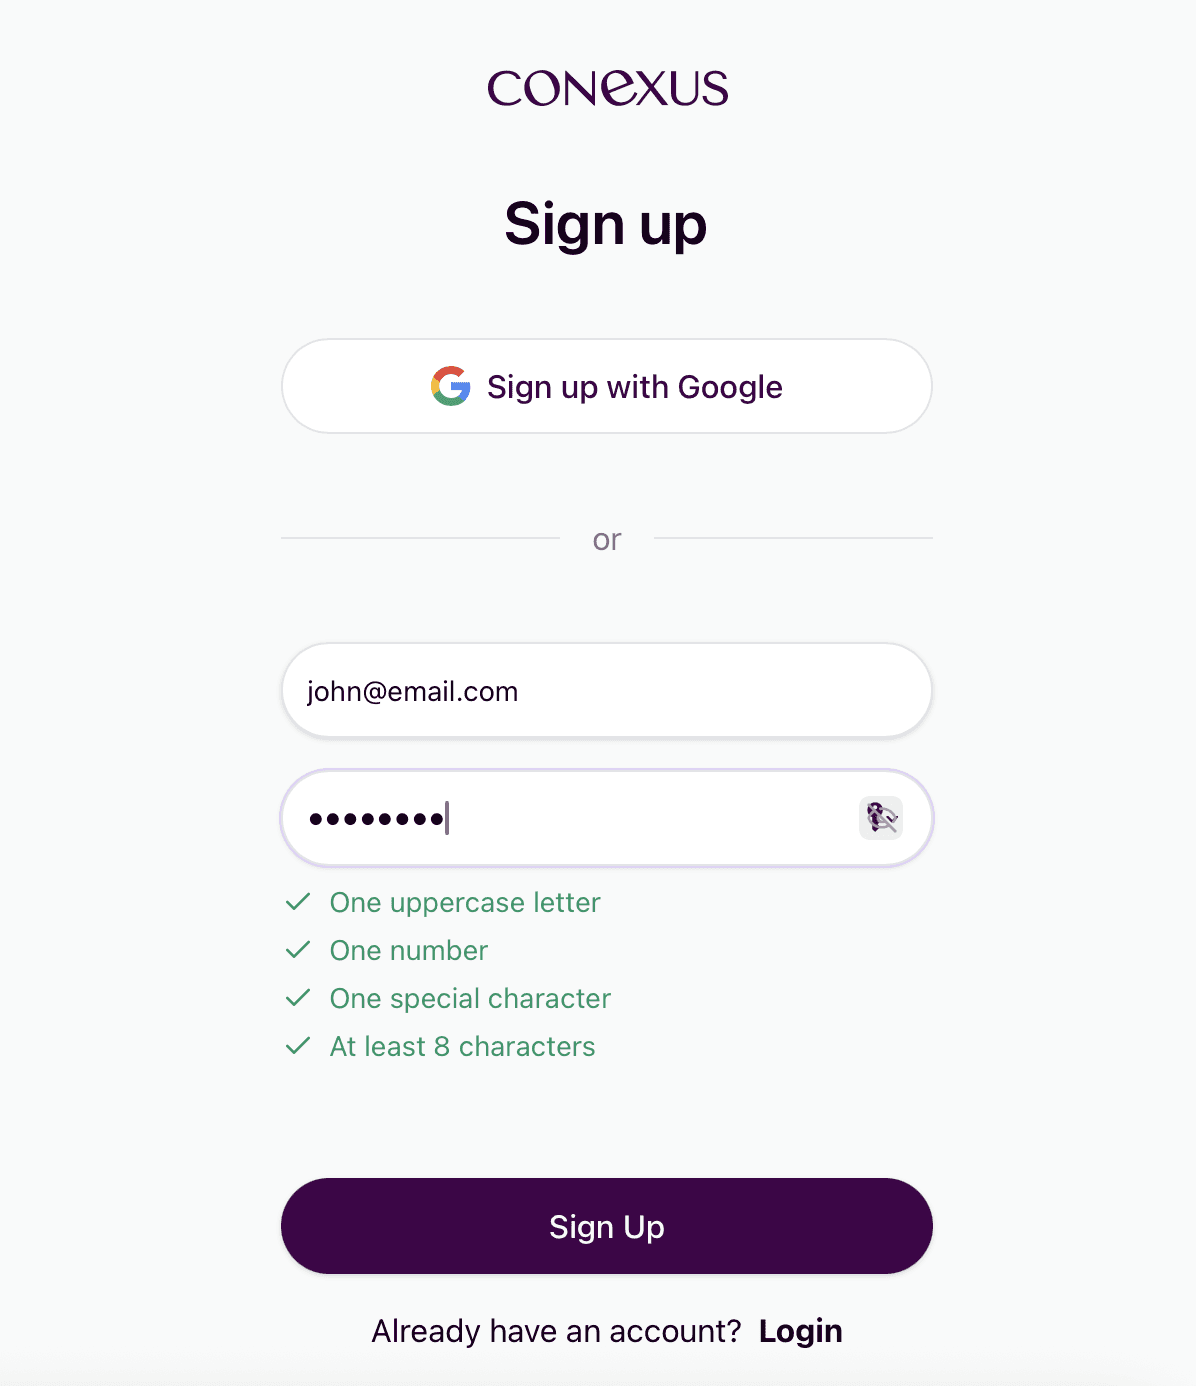
Click Get Started above or go to https://manage.app.getconexus.com to sign up for an account. Sign in with your Google account or use the email and password option and click Sign Up.
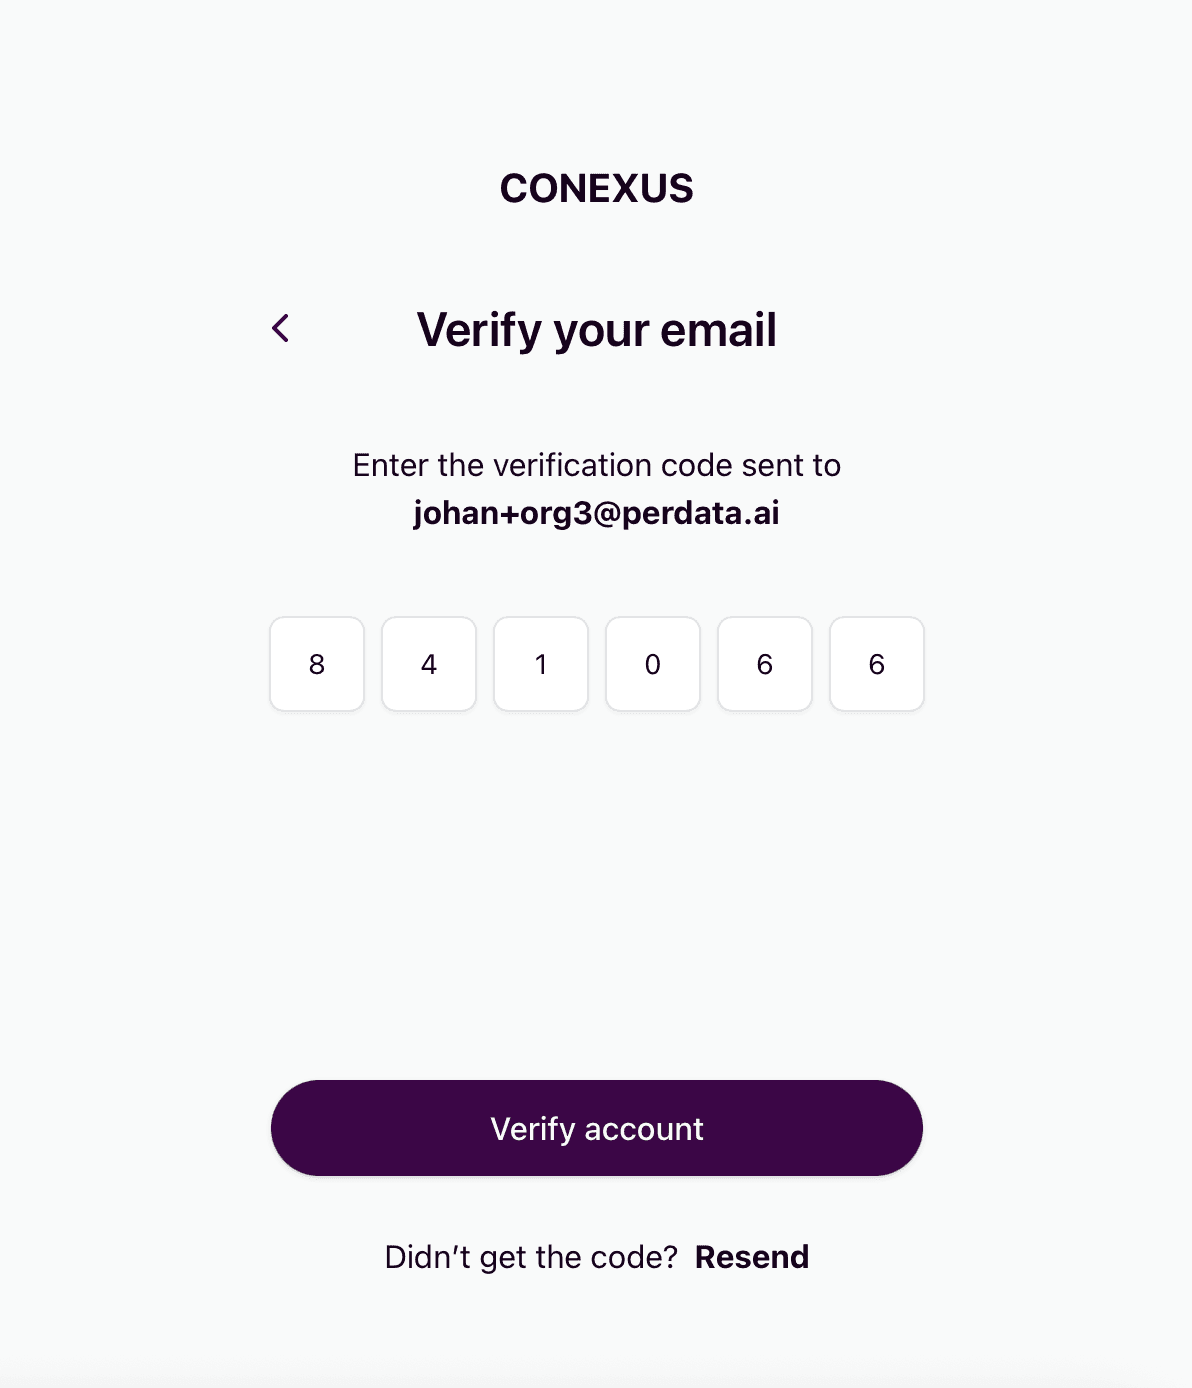
You should receive an email with a verification code at the email address you used to sig up. if you can't find it make sure to look in your spam folder.
Copy the code from the email and paste into the 6 digits and click Verify Account.

The first time through setup your company. If you don't have company just use your name. The URL and Description are optional.
Click Next to continue.

Last step in the initial setup is your contact information. Enter your full name, your title (N/A or self if you don't have one) and your phone number.
Click Finish company setup to complete the one-time company setup.

You are all setup to create your first event. The initial dashboard is empty and ready for you to start setting up your first event.
This is also where you can update any of the company information. Click the ☰ and choose Edit company profile.
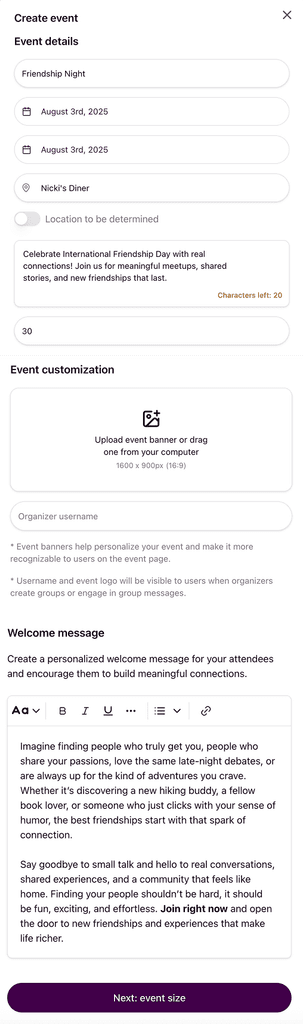
Click the Create new event to create your first event. Creating an event is a two part process. First enter the details surrounding your event. Title, date, location and short description. These will all be shown to the attendees when your share it with them later.
Expected number of attendees is only for you and is used to produce metrics and insights about your event.
Customize your event by uploading a representative image. Ideal size is 16x9 aspect ratio. If you don't know what the means, don't worry about it you can can crop and zoom the image in the popup window.
Enter you name, nick name or first name is fine. This wil lbe shown when messaging within the app with your attendees.
Next is the welcome message your attendees will se when they first open the app using the link or QR code you sent them later (see step 10 below).
One more step to complete the event setup, click the Next: event size button to go to the second final step.
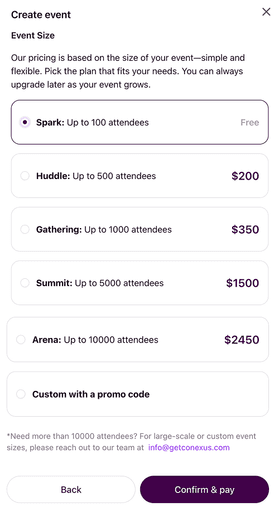
The second and final step in the event setup process is choosing how many attendees you will have. If you have 100 or less simply choose the free option at the top. If you are planning a larger event and still want to try it for the first time, reach out to sales@perdata.ai to get a promo code.
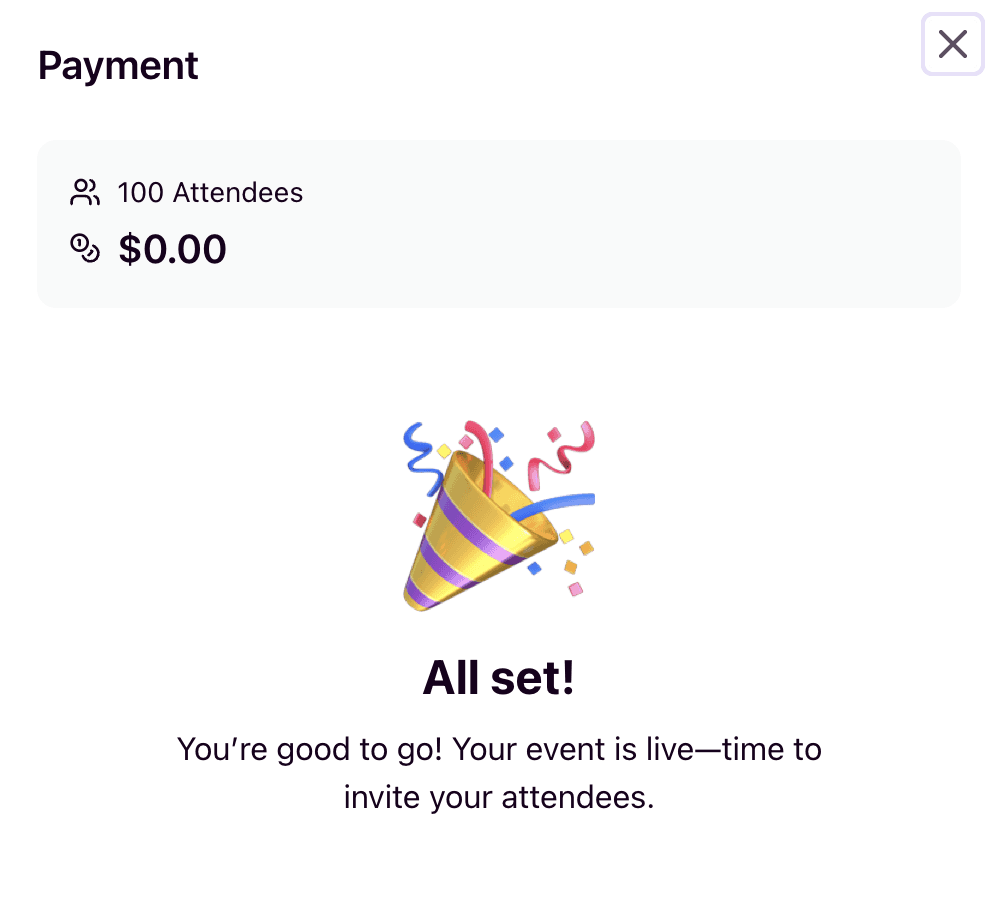
You are all done setting up your first event. Next, let's share it with the people who will attend the event.
Click the X to close this popup window.
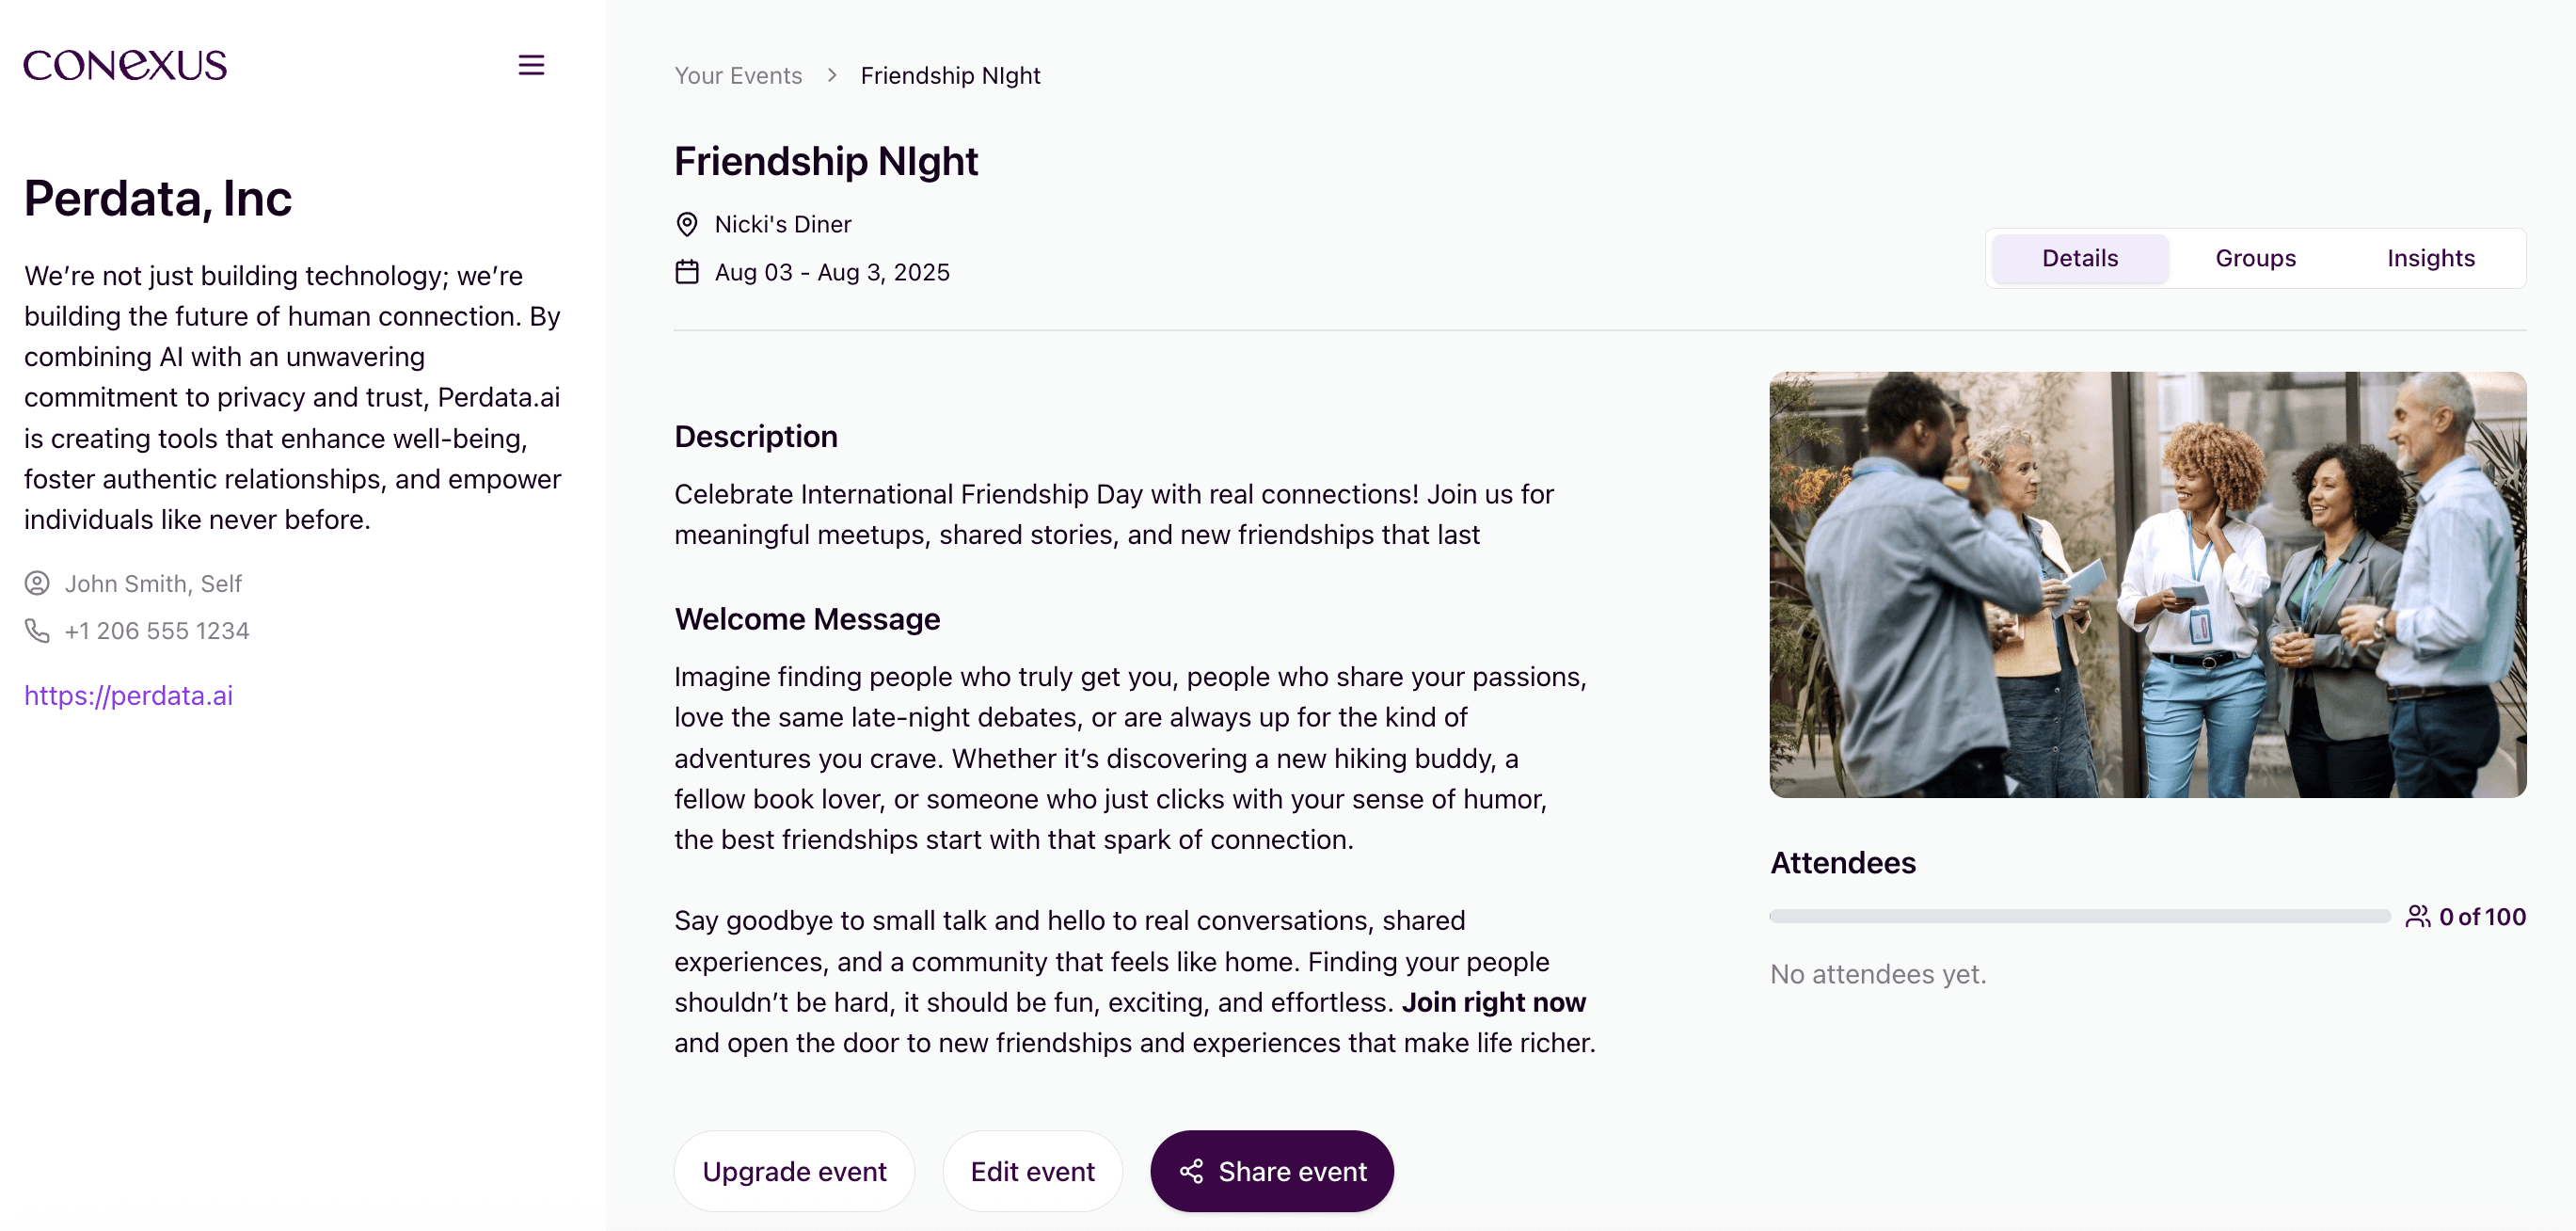
From the dashboard click on your newly created event to show the event details. From here you can shoose to make changes, upgrade to a larger number of attendees or share the event with people who will attend it.
To share the event click the Share event button.
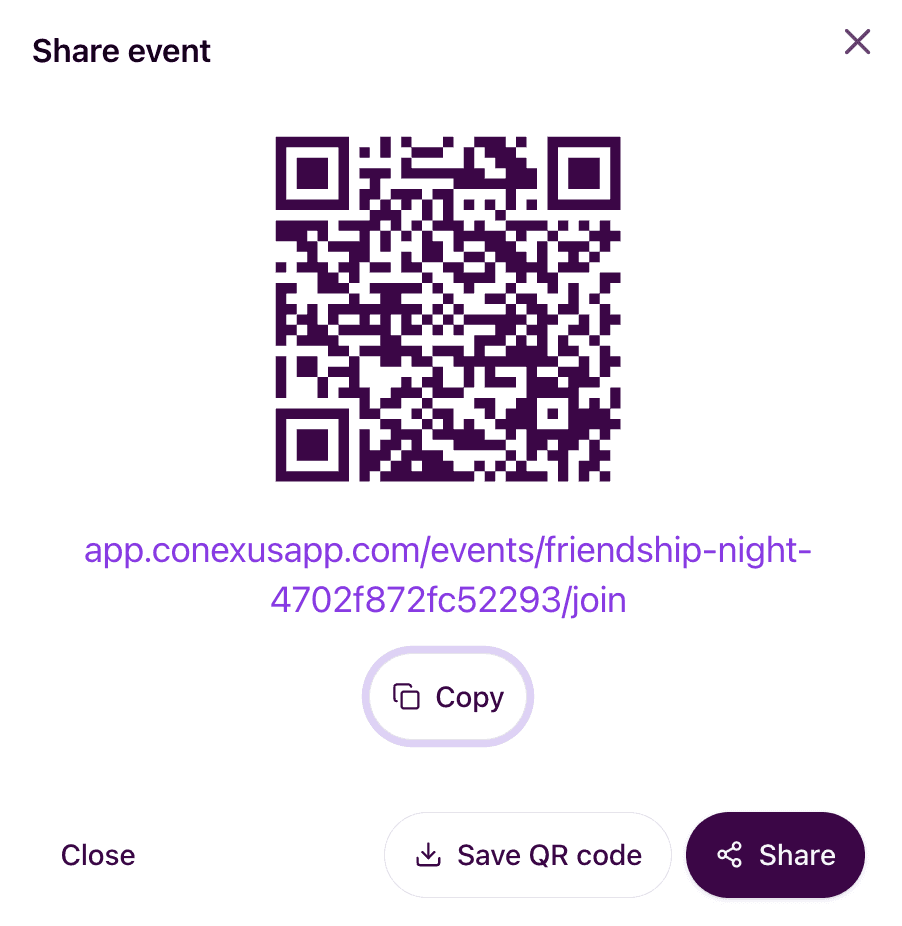
You have a couple of different options when it comes to sharing the invite link to your event. You can send them the URL listed, copy the URL to the clipboard by clicking the Copy button or send them the QR code. To share the QR code first you must download it, click the Save QR code to save it locally.
You can send the link or QR code via email to your participants and simply share the QR code on a screen or in printed materials.
Once your participants have the code they will be able to join in on the fun of discovering new people and have meaningful conversations.